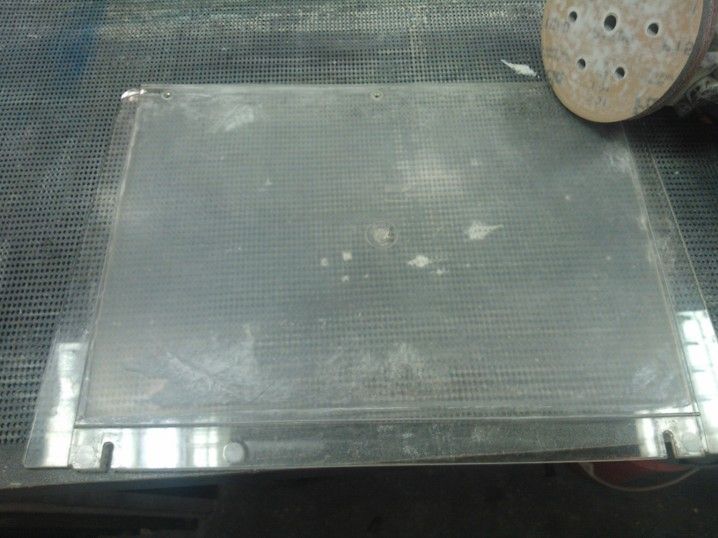
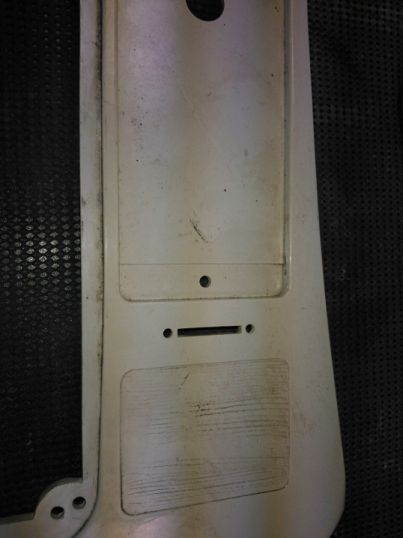
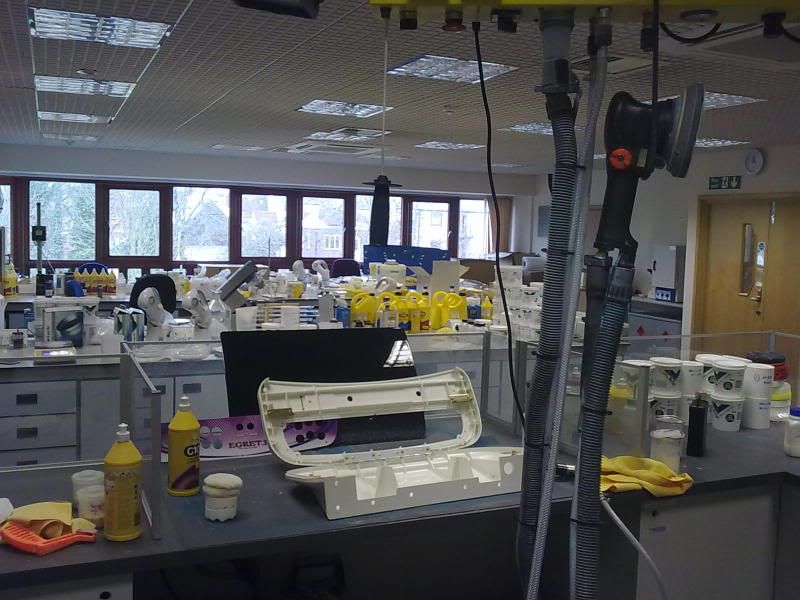
The Problem
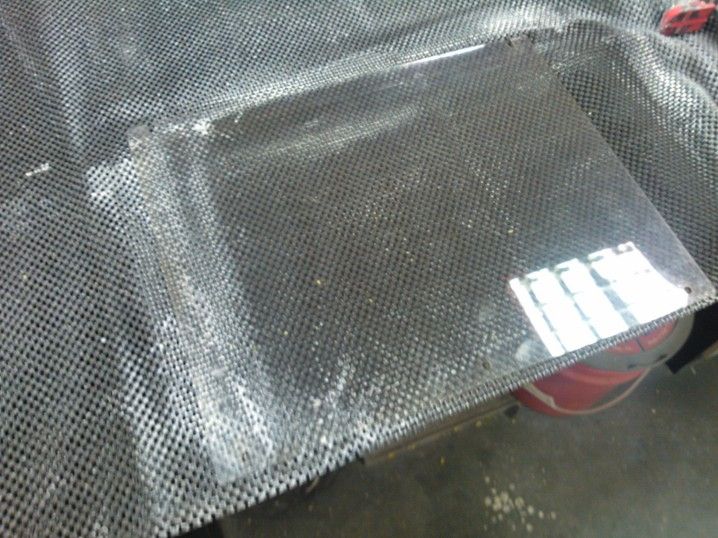
It's mank! I've cleaned these CP's before when dirty (ill dig the link out later) by just compounding with good results but this one is chipped, very dirty and looks burnt in places too. Can we fix it without spraying? Lets find out!
Other
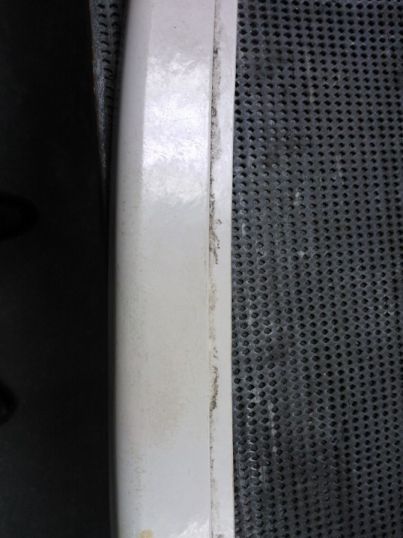
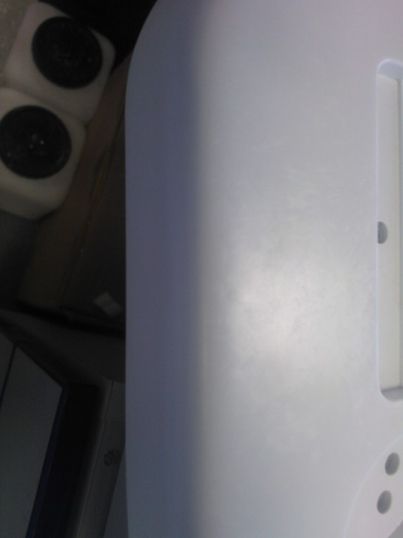
I've noticed this before on both my old AWSD and the current Egret II, but the CP's don't really have that great a finish. It's shiny but not very smooth. Depending how it goes ill see if I can improve this.
Compounding
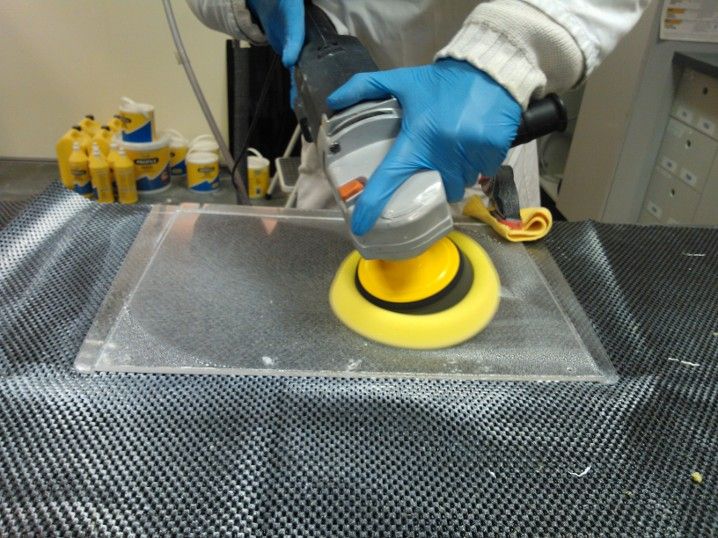
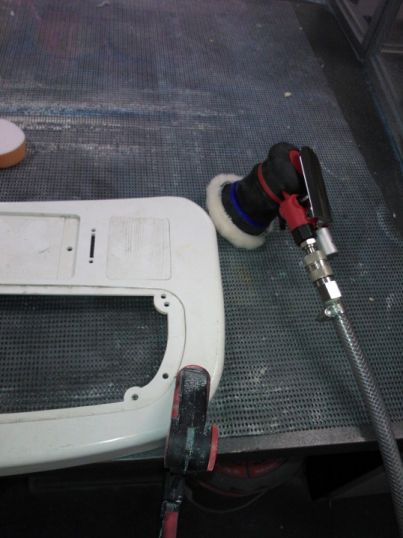
For CP's with dirt or just minimal marking, a small amount of compounding can work wonders. I already know by looking this CP needs more than that but I figured I'd give it quick go over anyway. I used a 3" lambswool pad with some medium grade compound.
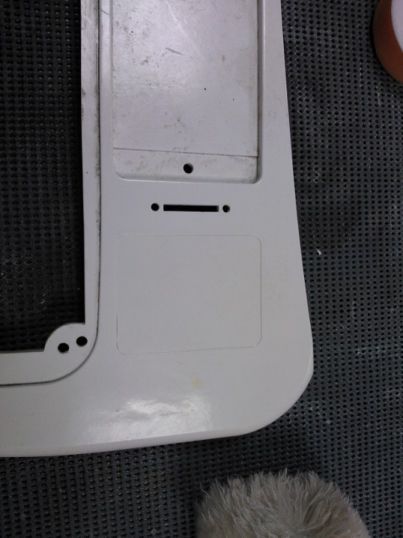
The result isn't too bad, cleaner though some of the marks (possibly cigarette burns) remain.
It was at this point I made a choice to take it a step further and flat it back. This is potentially a risk as I'm not 100% sure on the material or whether its coated. The upside is though that I could still spray it afterwards if it goes horribly wrong.
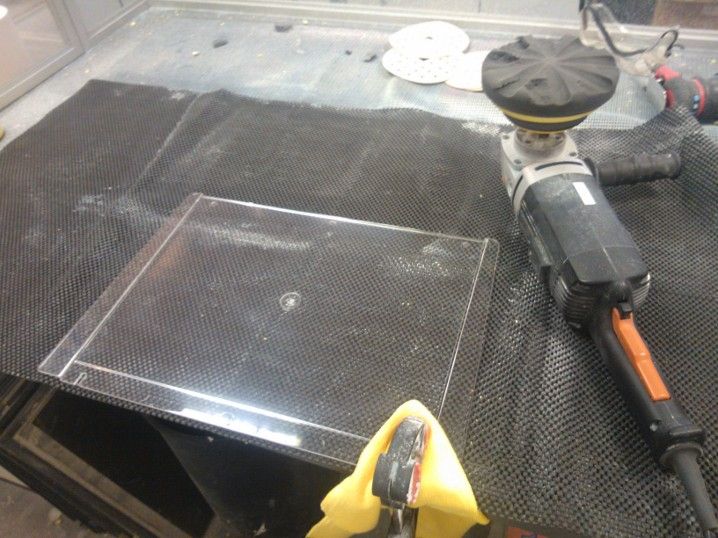
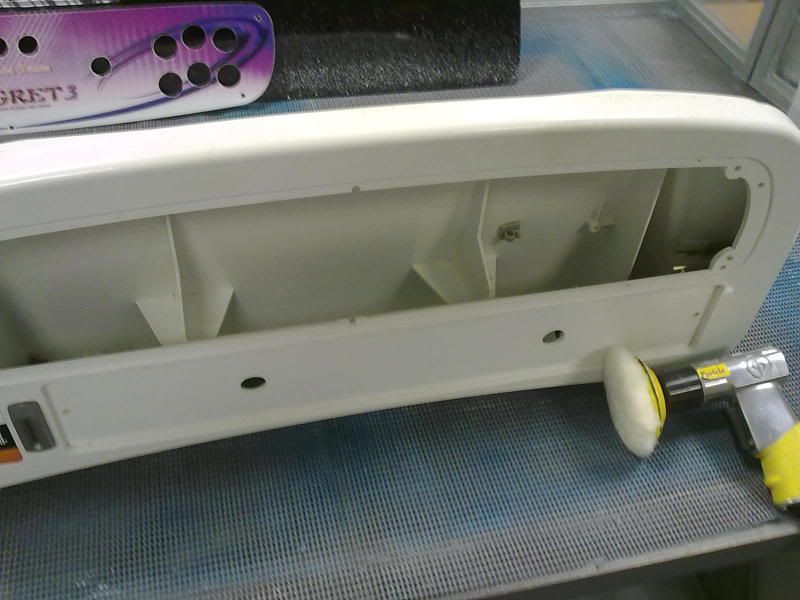
I started with some fine grades but this had minimal impact on this surface as expected. 800 grit was better but given the imperfections in the surface I took it to 400 grit.
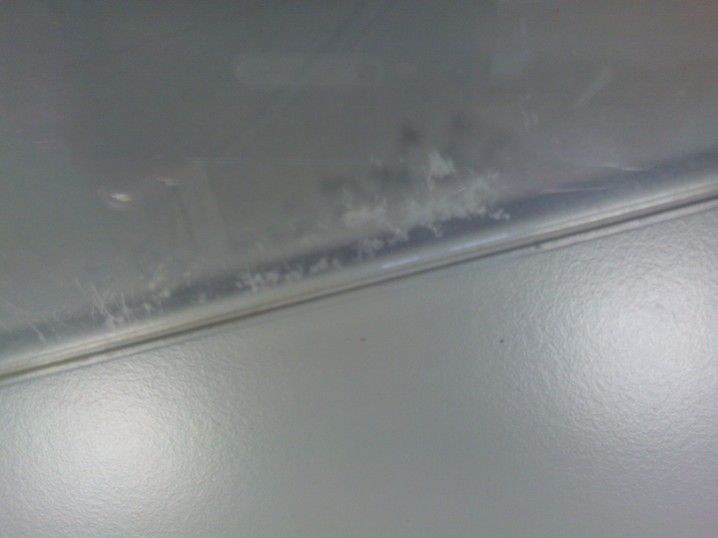
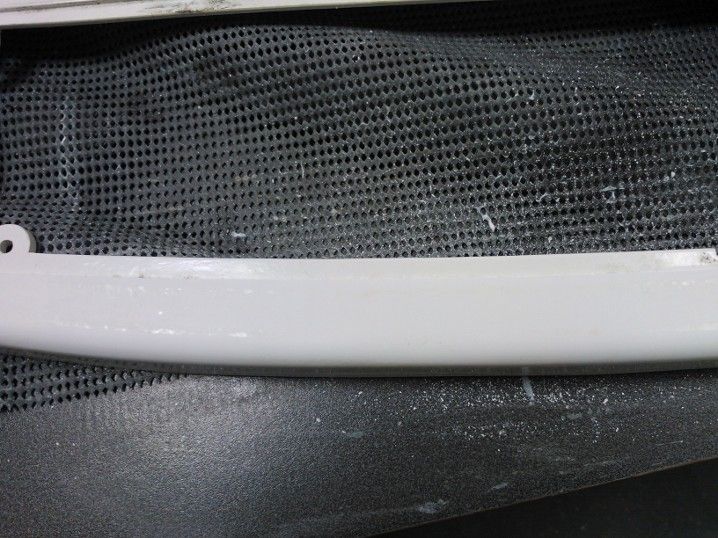
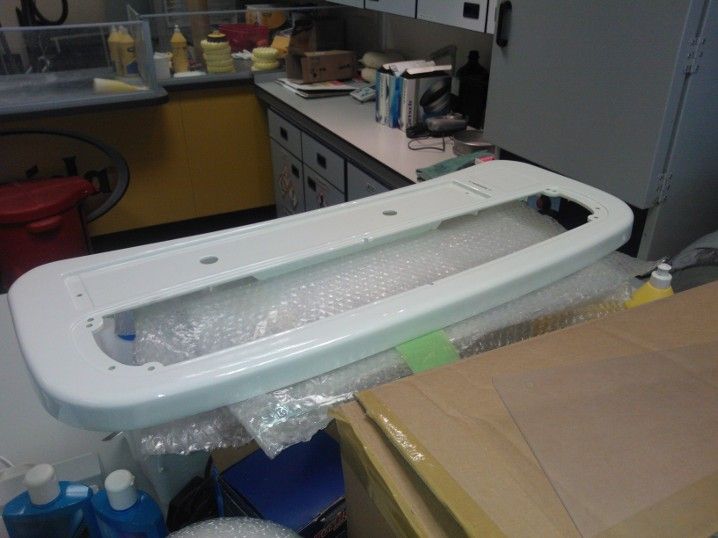
I didn't get a good close up of this section before but it had burn marks, chips and an odd mottled effect. The 400 grit removes material at an alarming rate, you could very easily 're-shape' your CP using this grade.
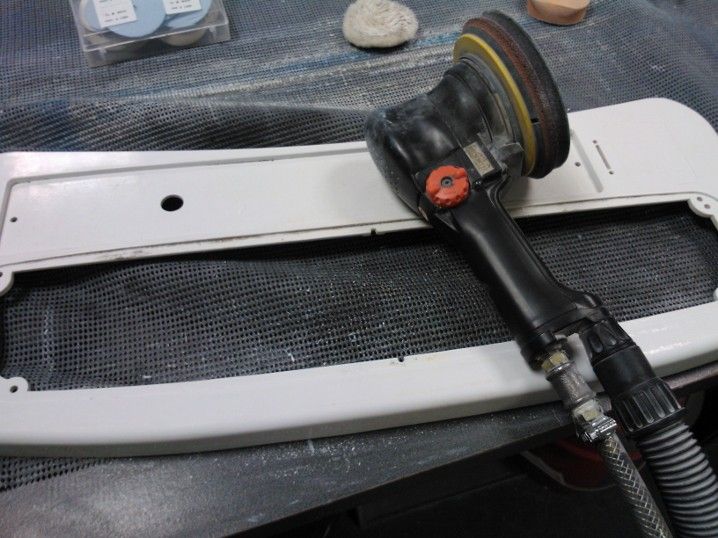
It did however make light work of the chip (now gone), the odd lines and mottling as well as the burn marks. I took care to keep it even as its easy to overdo it on this material with this grade. So far so good.
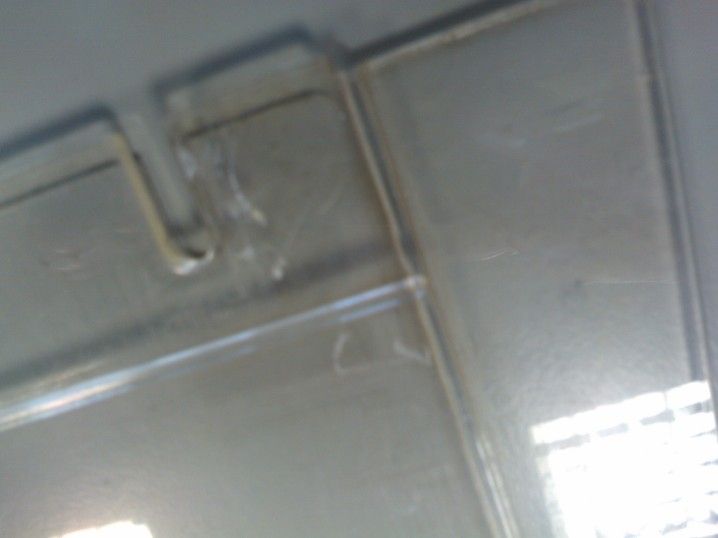
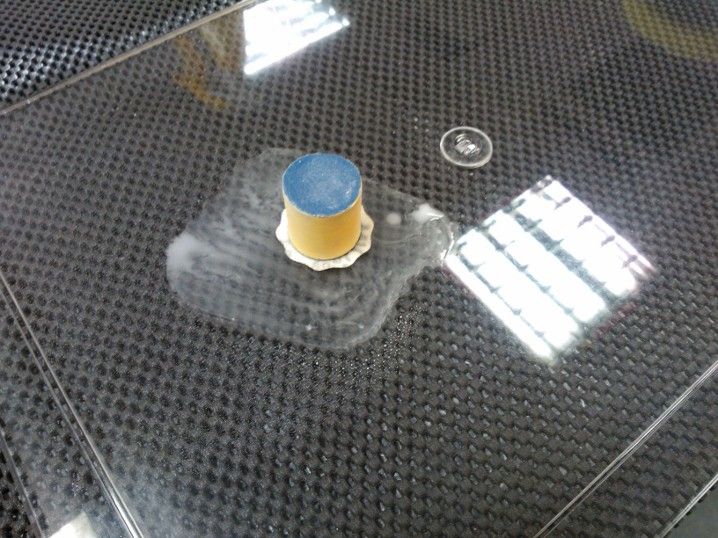
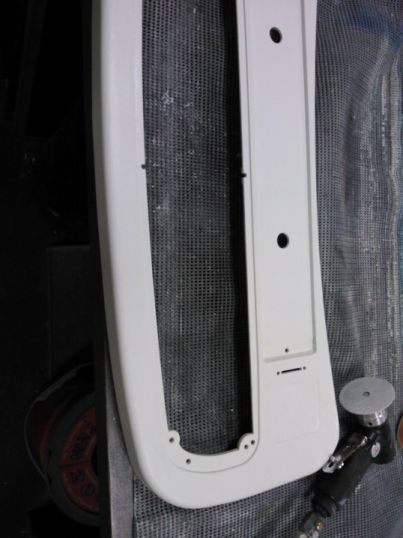
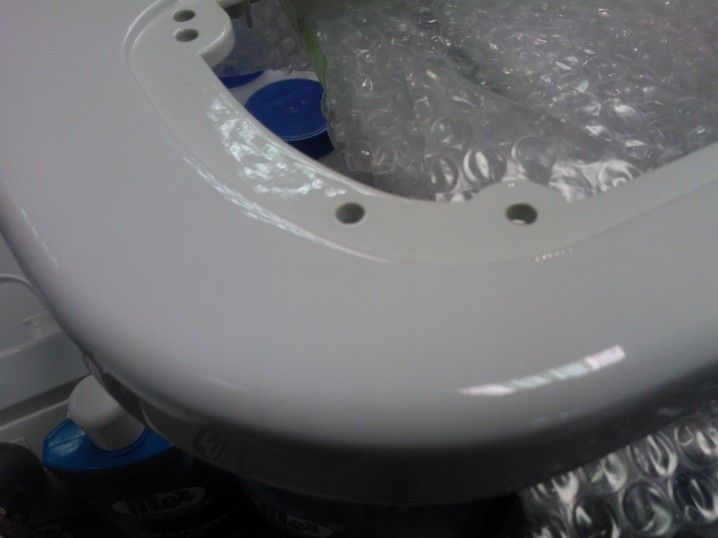
Around the area where the coin sticker sits I was very careful. I used a smaller disc and avoided the edges so as not to affect the recess depth. Had the sticker been present I'd have simply masked this area off to preserve it.
And that so far is as far as I've got! Plan to do some more next week.
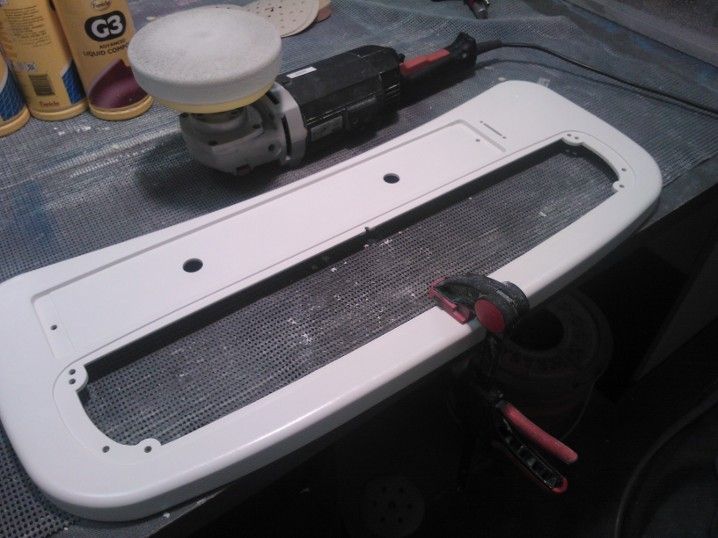
Ill finish off the whole panel then bring it back up through the grades of abrasive discs before compounding. I've no idea if it'll work but failing that ill take it in the spray booth for some professional automotive paint (though as per the objective, I want to avoid this if possible).
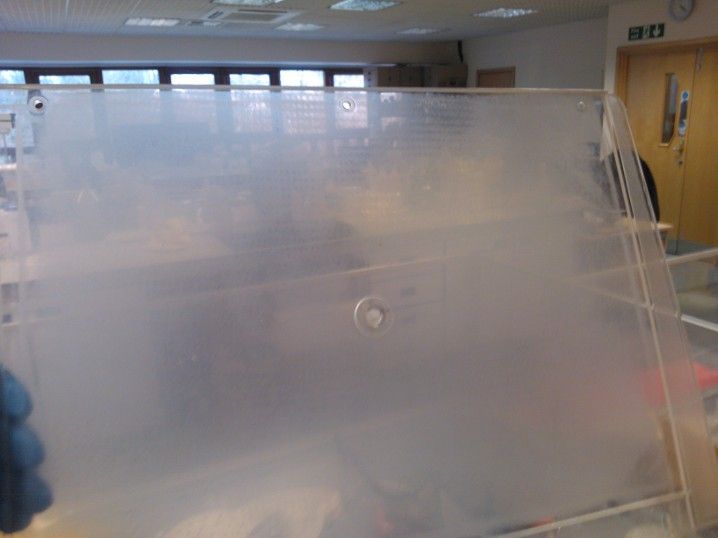
Well today I set to work working back up through the abrasive grades and then hit it some medium, then fine cut compound. From a distance it looks ok...
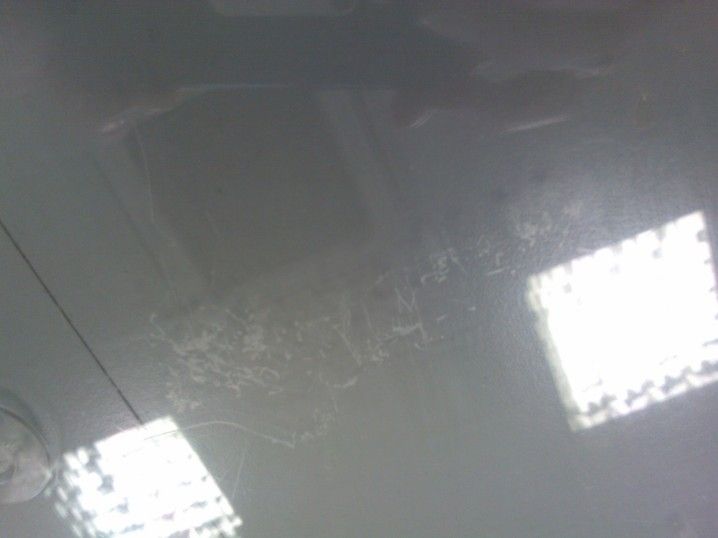
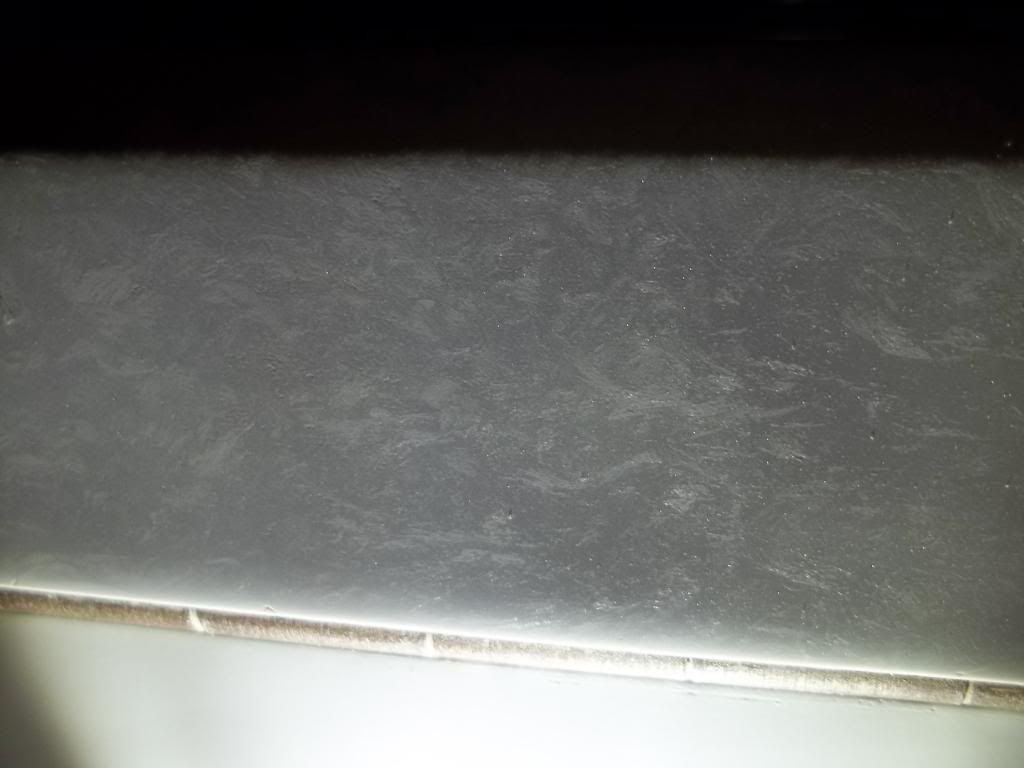
But under certain light and as per ninns picture below, you can see an odd crazed effect:
This confirms what I had been worried about - these panels do indeed have a coating. From the structure this is almost certainly a grade of plastic that had been re-enforced with glass fibre to strengthen it. The odd effect is caused by the exposure of the glass fibres.
So I then set about and re-flatted it back to 400. I did try 600 first but you can still see the fibres through the scratch pattern. Oddly at 400 grit the panel looks kinda ok, white and very clean and smooth but of course this isn't the finish we are after.
Based on monouchi's post below, I'm taking this in the spray booth tomorrow to add a clearcoat. I normally wouldn't do this straight on without primer and base, but monouchi's post seems to suggest ill get away with it. Well soon find out!
So into the spray booth and added a clearcoat (Nexa Express).
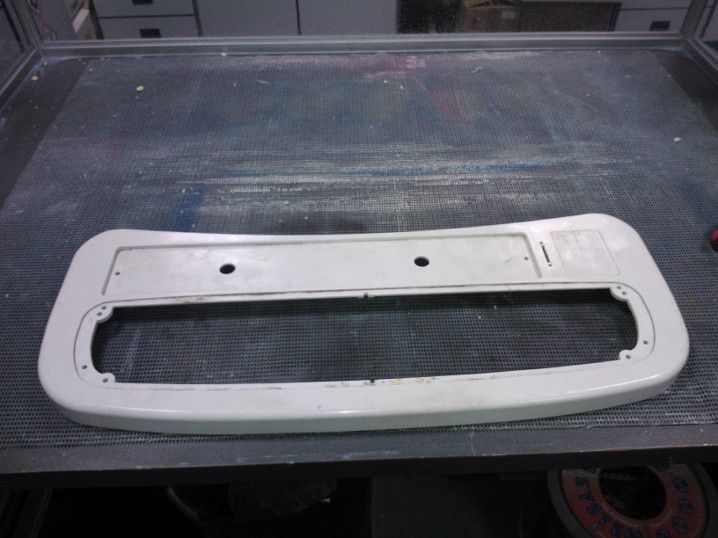
Final result is not too bad; finish looks as close to stock as I think you'll get using this method - cerainly the 'crazed' effect is no longer there
It's not perfect, needs some fine sanding and compounding to remove a few imperfections but on the whole its ok considering how it started. Theres a couple of marks under the clearcoat where I probably could have sanded a bit more to remove but on the whole I'm happy with the result. I was going to flog this but I think I may keep it as a spare; will post up some pics when its populated
Conclusions
So far I have learnt a few things. There is a coating on these panels and naturally removing it by sanding the surface down will mean it'll need a coating re-applied unless you are happy with the 'fibre effect' finish.
However, that's not to say you can't compound the original coating. Provided its very minor marks or just a clean up as it were, compounding will restore the shine and make the panel look better. You just need to be careful not to overdo it and go through the original coating. Based on what I've done I'd personally avoid sanding at all if you want to achieve this. I know this as I've done it before:
The final effect of going the clearcoat route is quite good as you can see above; it's not 100% stock looking (you can tell the difference in coating in tems of gloss and thickness) but it's close enough and I have not had to colour match any paint since we I have not used any base coat or primer. Part of me wonders whether it'll hold but I can't see why not, it was sprayed directly over 400 grit.
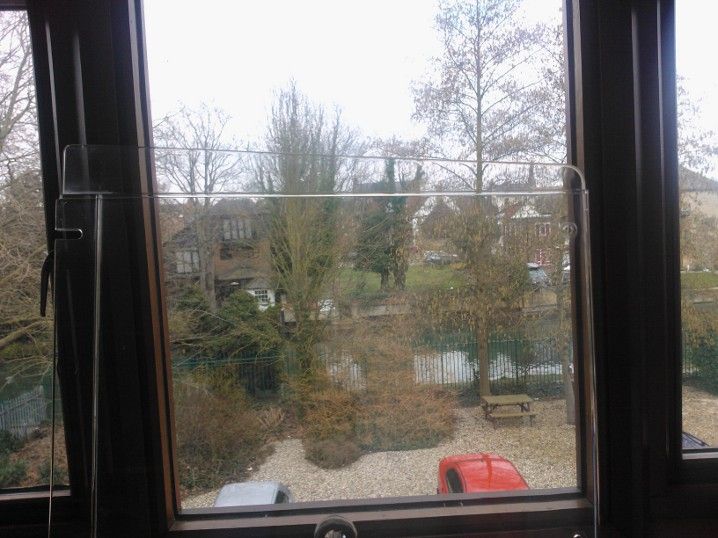
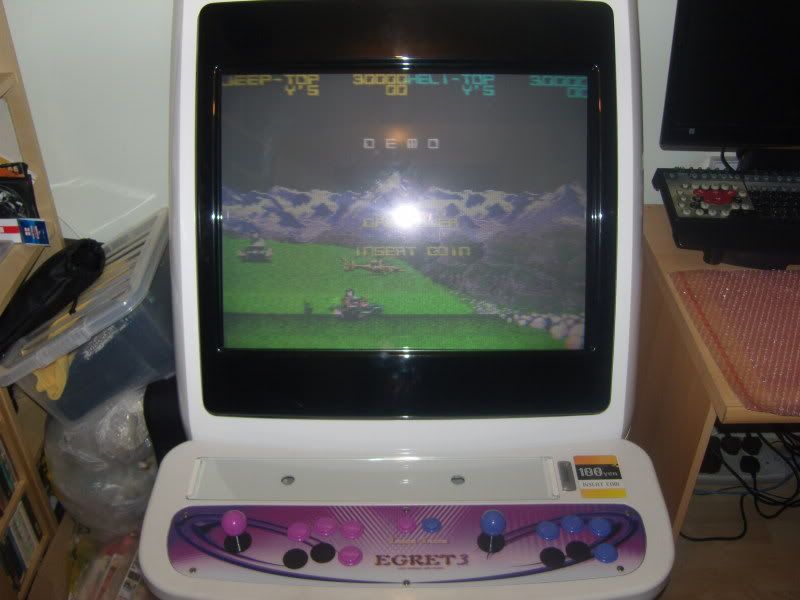
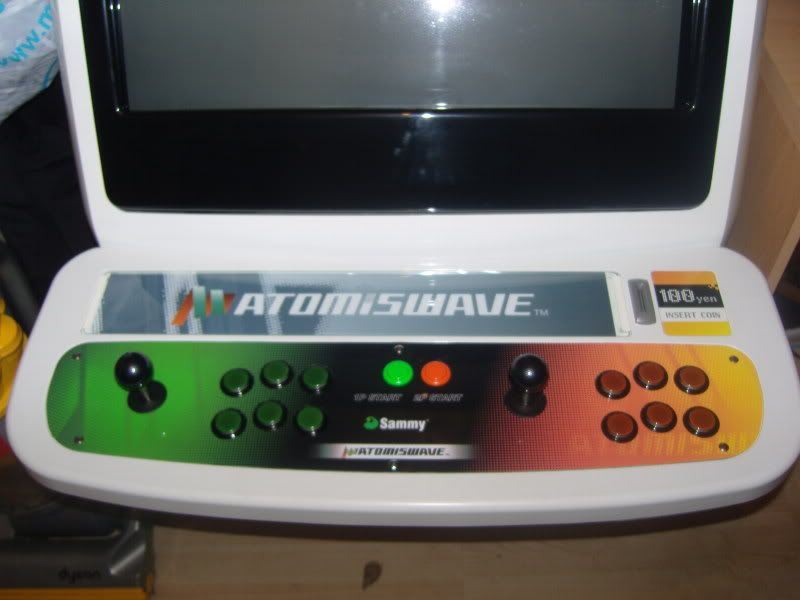
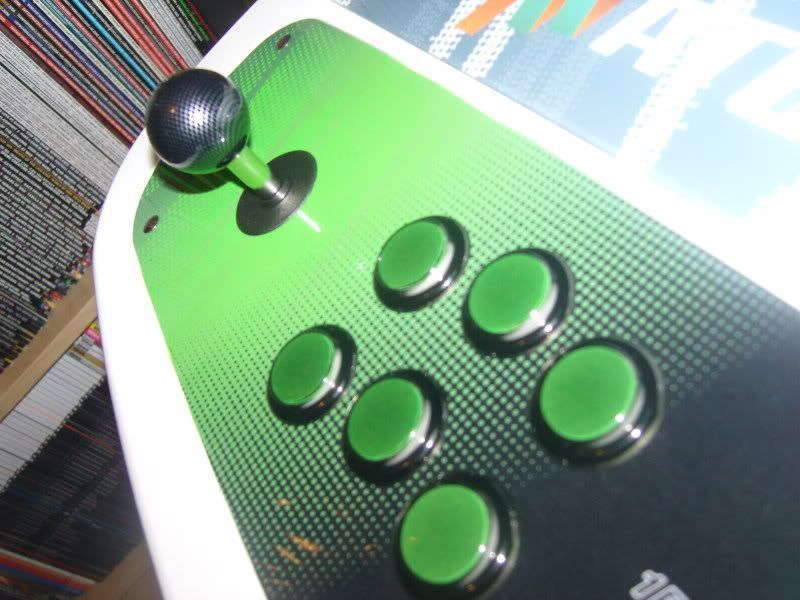
On the Cab!
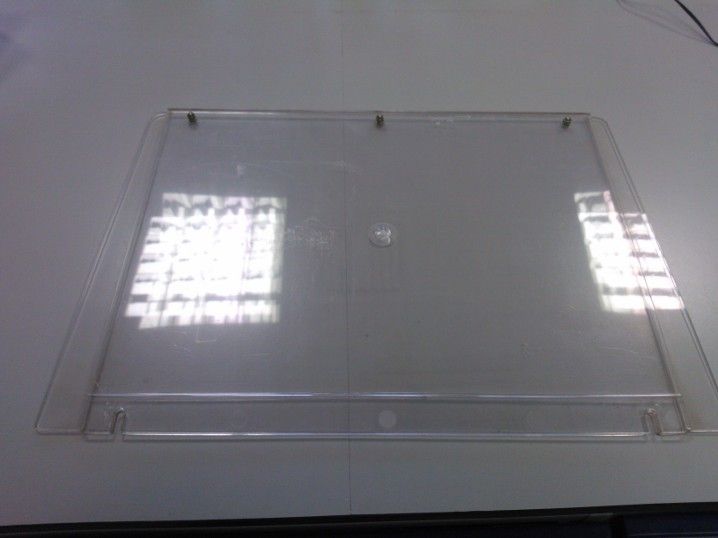
This is the panel on the cab, looks ok especially taking into account how bad it was when I started
(Sorry about bad light in some pics, lighting in my game room isn't great atm).
Fitting
(Had to change the actual CP after but you an see finish in this pic better)

Fitted


Going to polish up the original one now this is fitted, no lacquer on that though, just a buff up